You don’t need professional-level sewing skills to make your dresses look custom-made. The difference between a dress that looks “homemade” and one that looks high-end comes down to a few intentional techniques.
This guide breaks down exactly how to elevate any modest dress using beginner-friendly tailoring methods that create structure, polish, and a more expensive overall look.
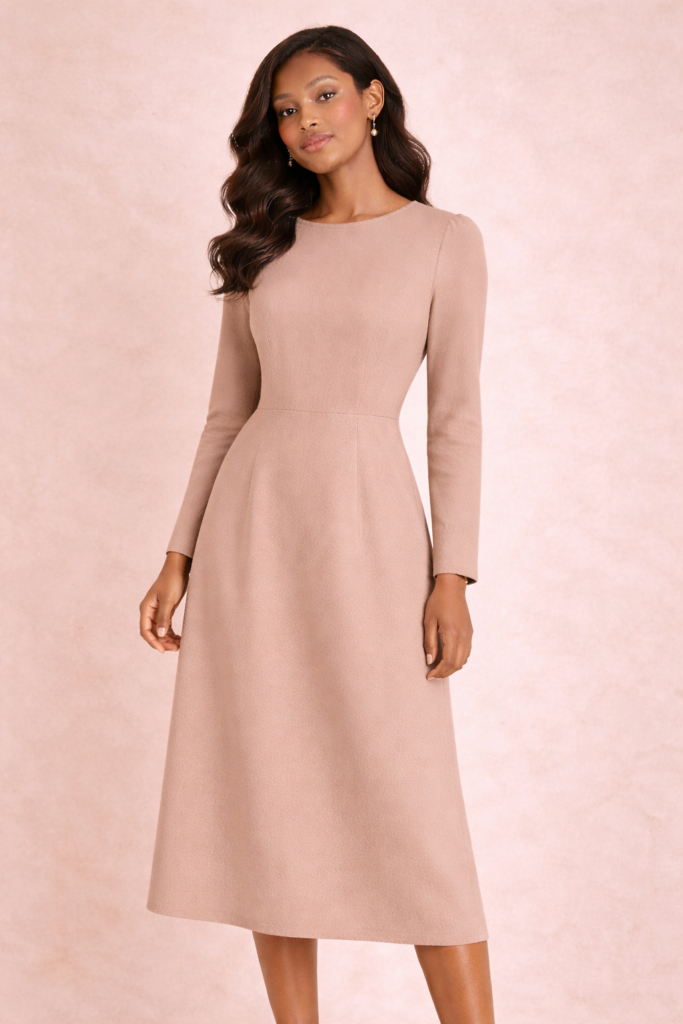
What Does “Tailored” Really Mean?
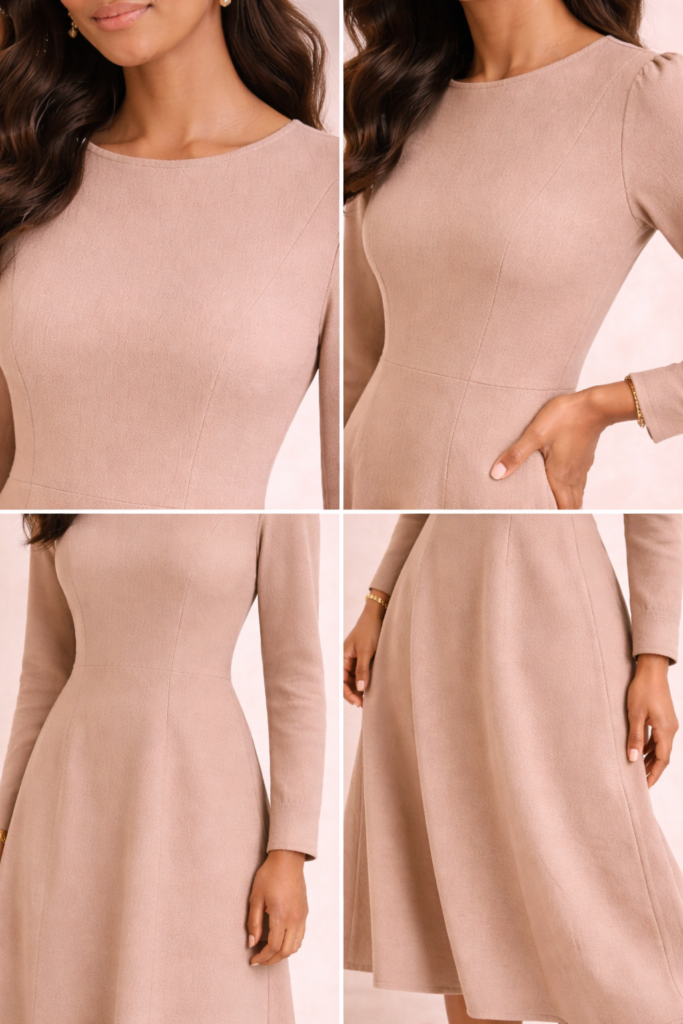
A tailored dress isn’t necessarily tight or complex — it simply means the garment:
- Fits your body intentionally
- Holds its shape
- Has clean, structured lines
- Looks polished from every angle
Even the simplest dress can look high-end when these elements are present.
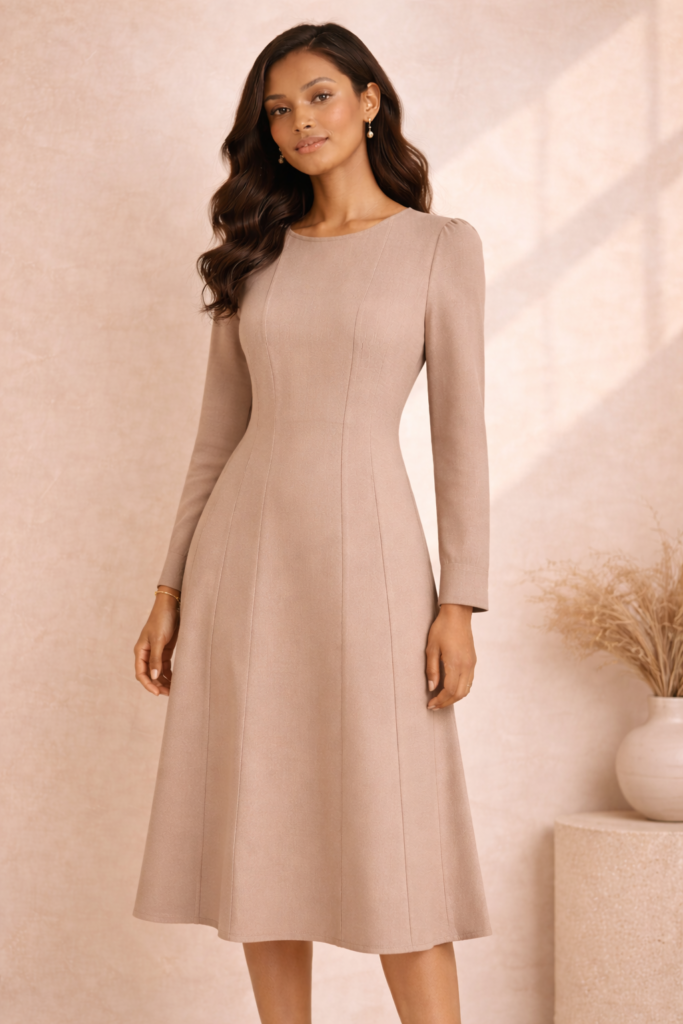
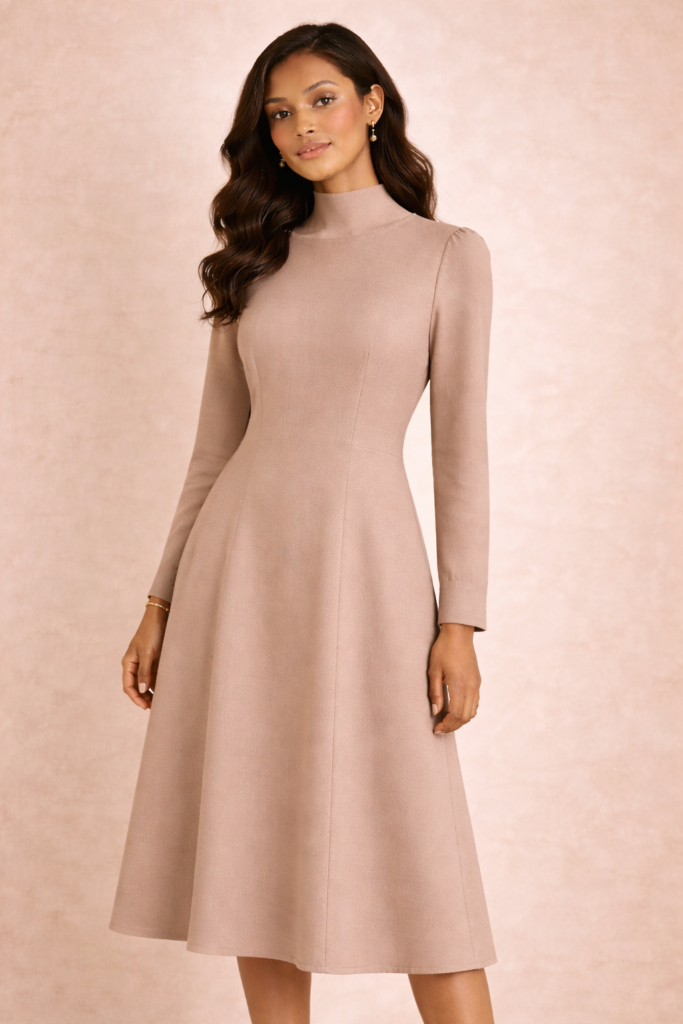
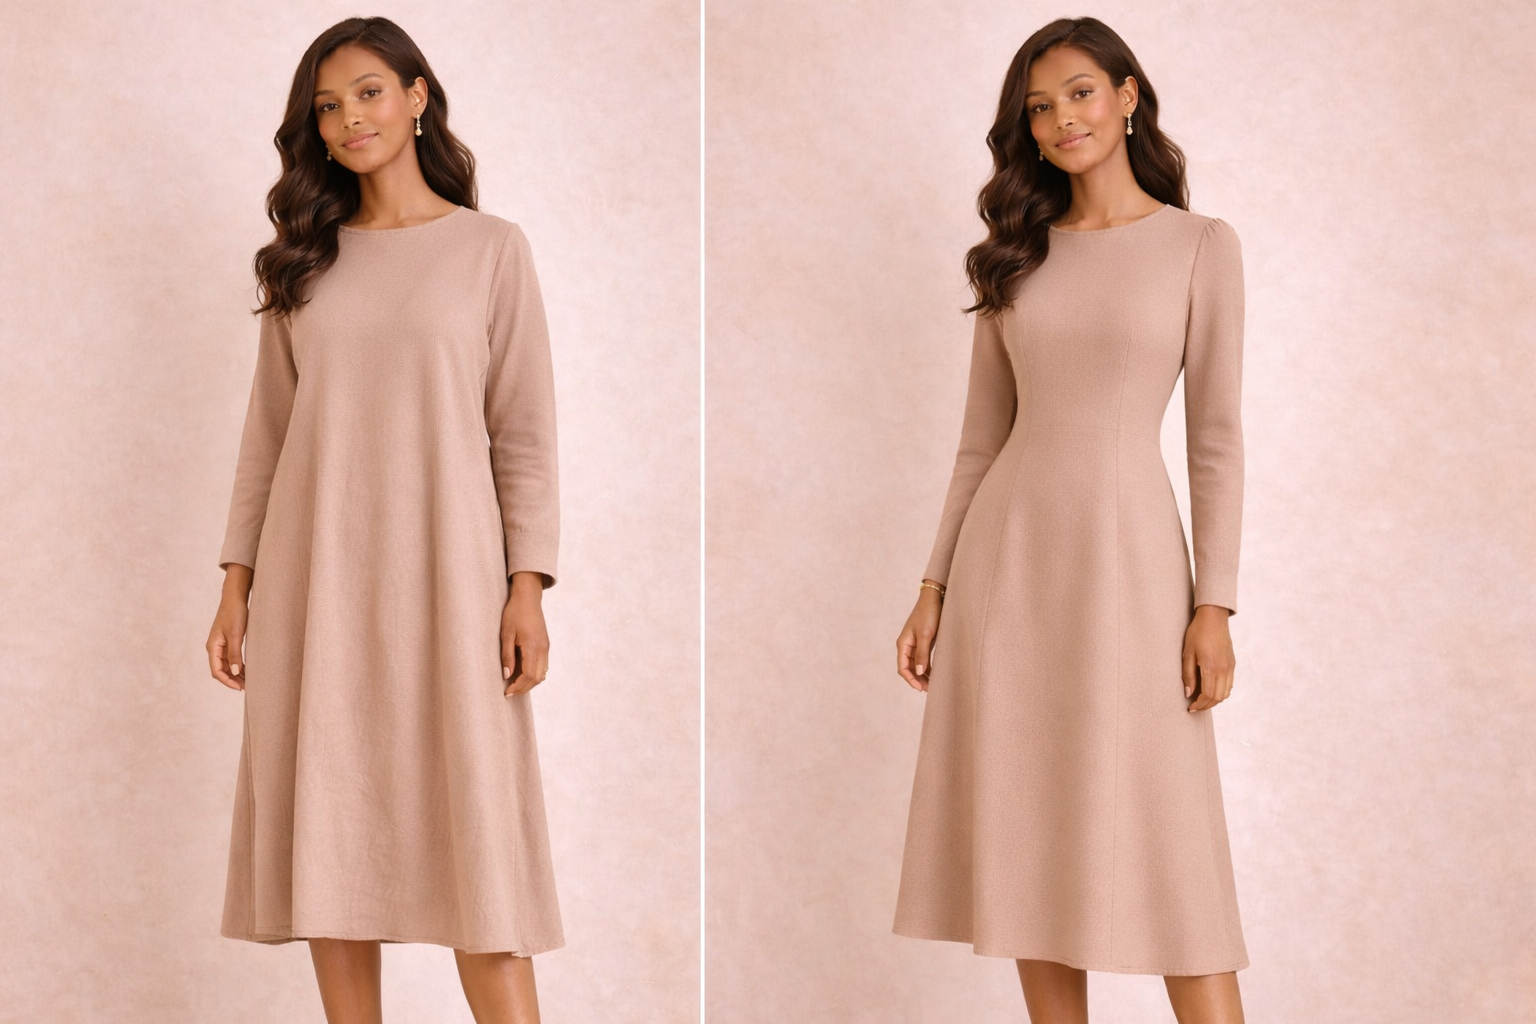
1. Focus on Fit First (Even Without Advanced Skills)
The fastest way to upgrade your dress is improving the fit.
Beginner-friendly adjustments:
- Slightly taper the side seams
- Raise or lower the waistline for balance
- Adjust sleeve width for a cleaner look
Why it matters:
A well-fitted dress instantly looks more expensive — even if the design is simple.
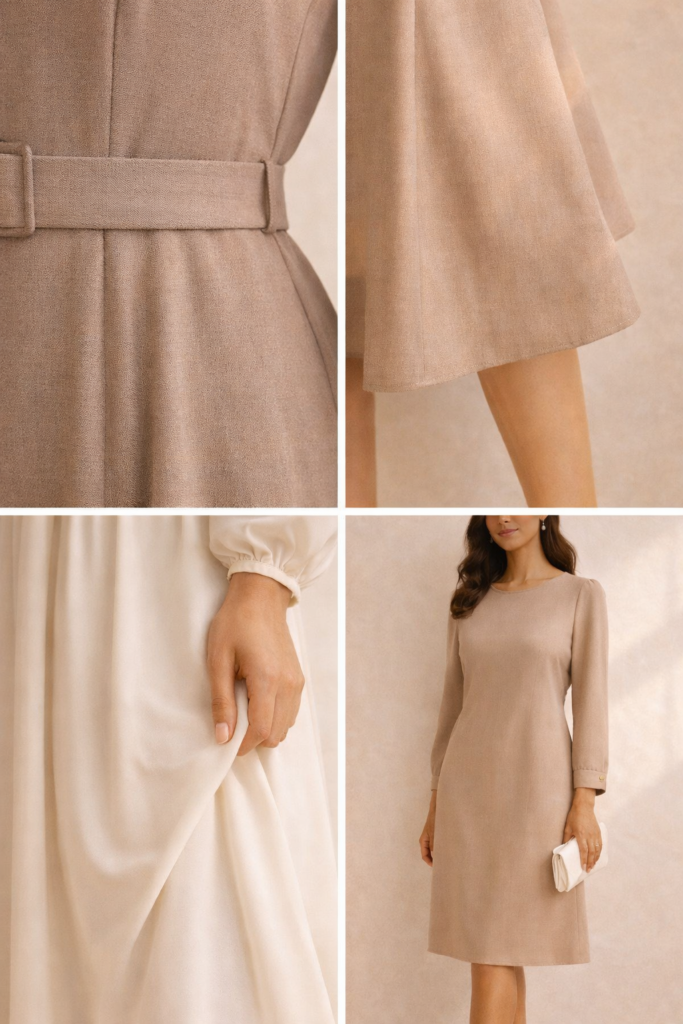
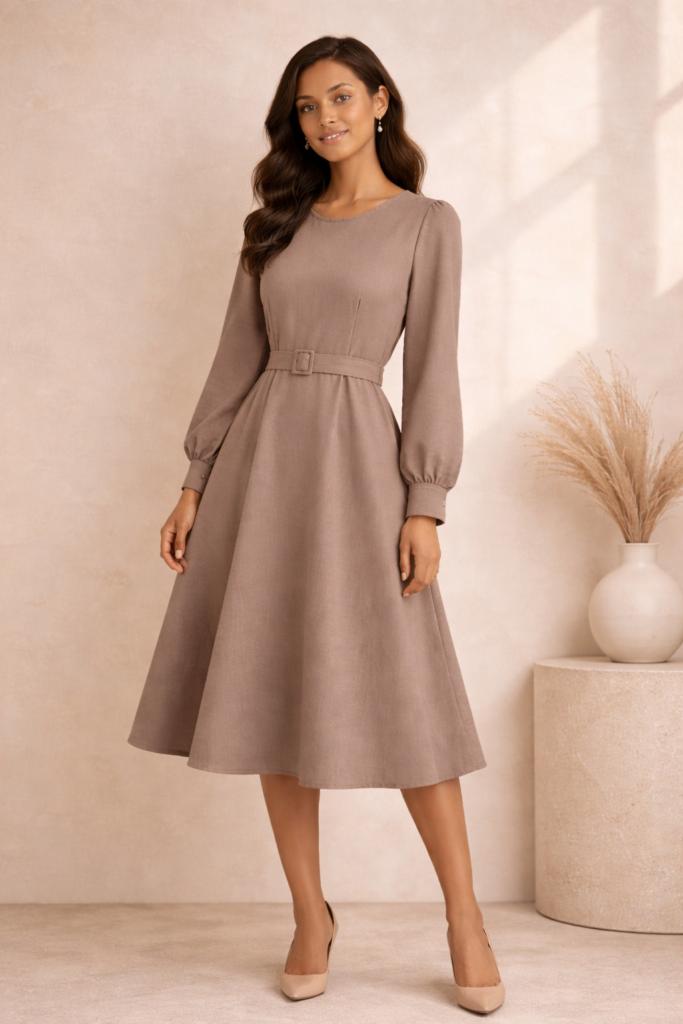
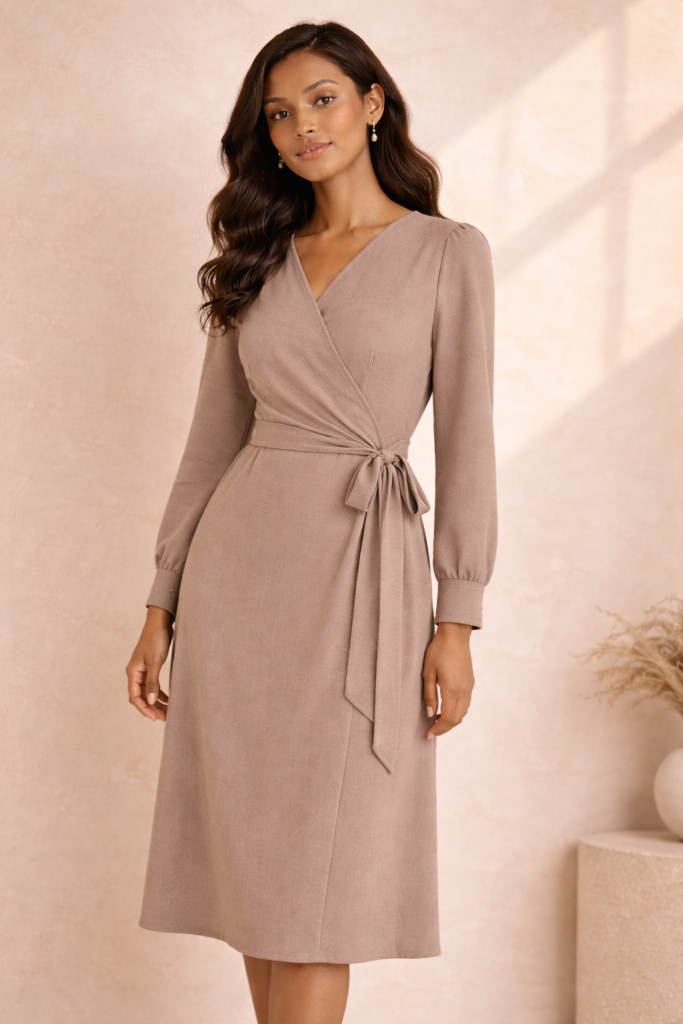
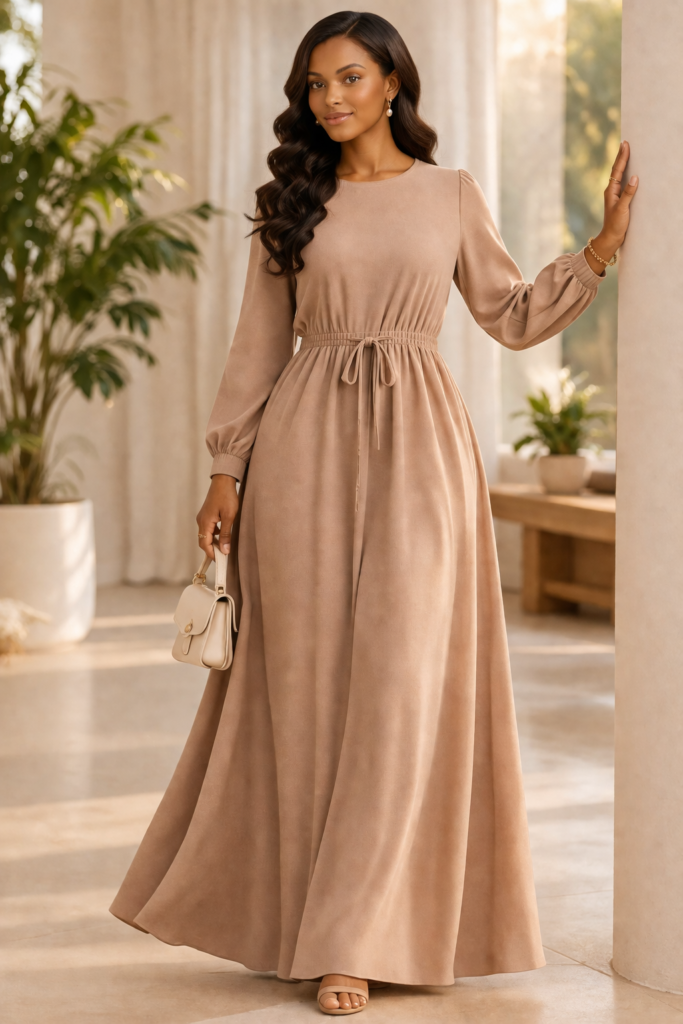
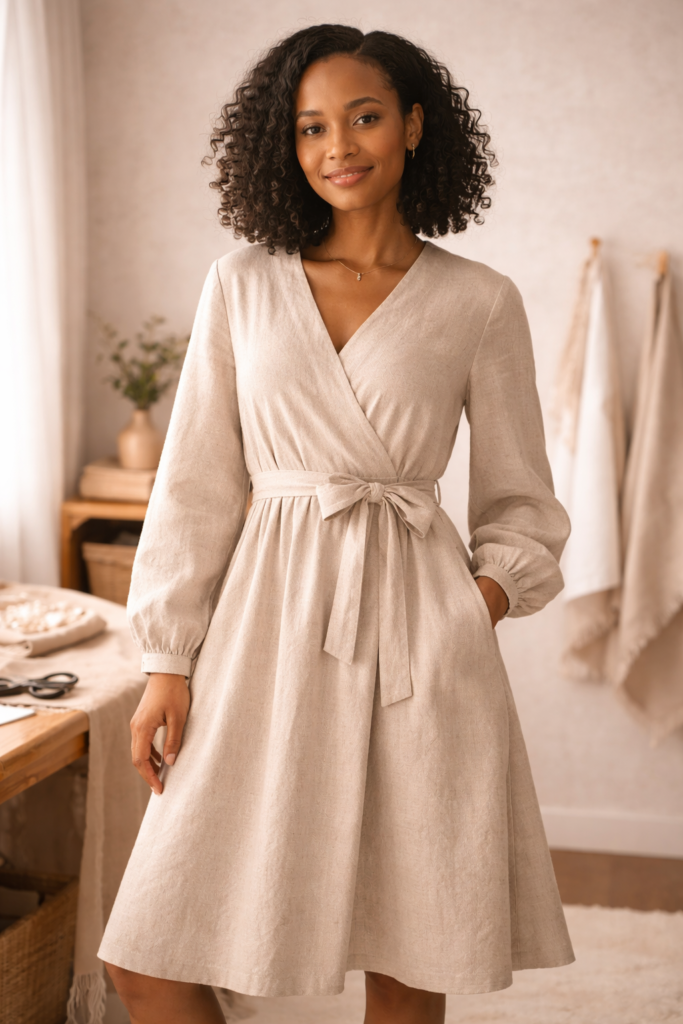
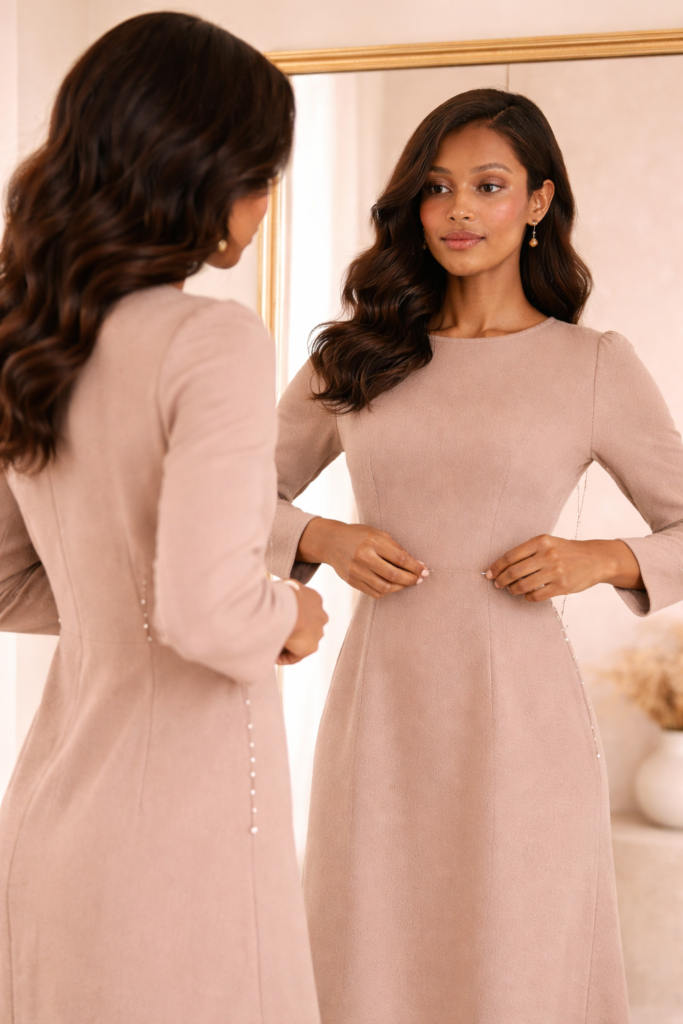
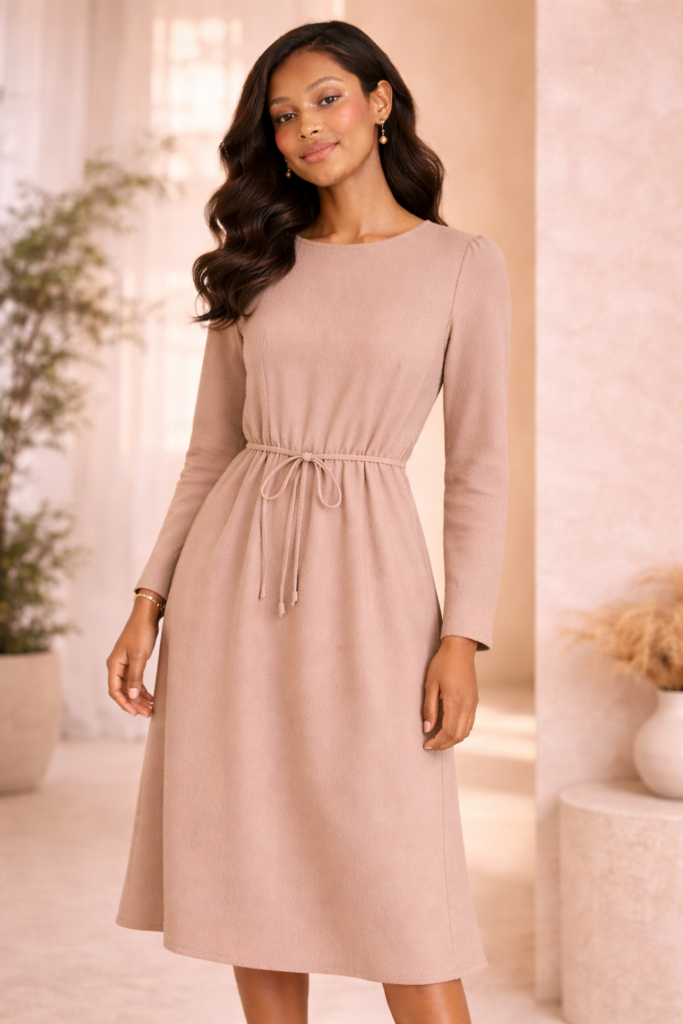
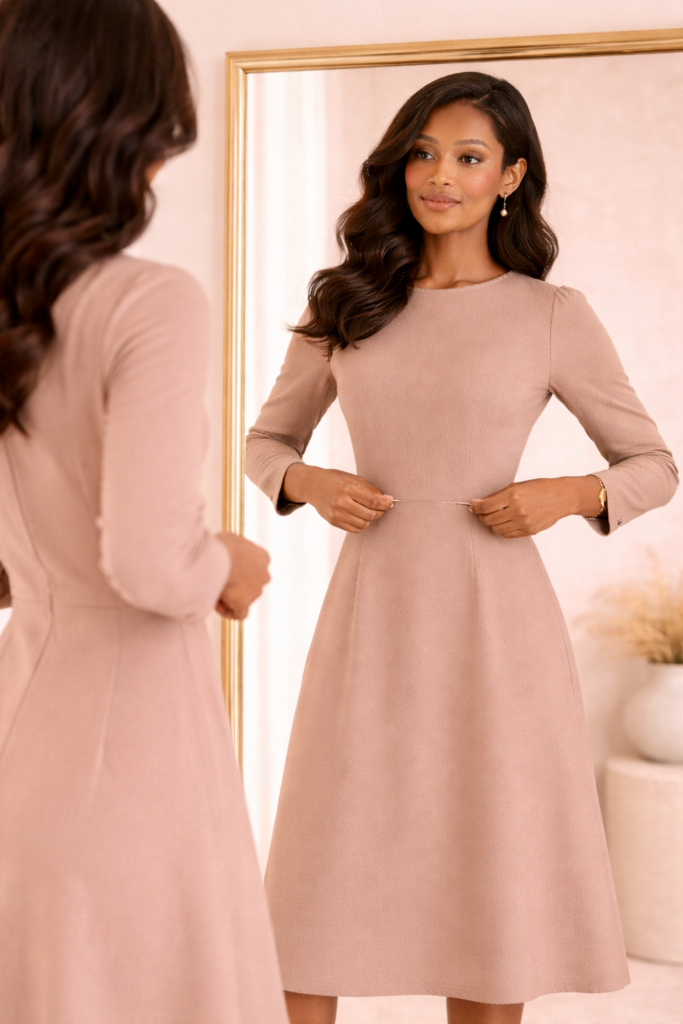
2. Use Strategic Waist Definition
Loose dresses can look shapeless unless you define the waist properly.
Easy techniques:
- Add an elastic waistband (hidden inside)
- Use a fabric belt or tie
- Insert a simple casing for subtle shaping
Pro tip:
Avoid overly tight gathers — soft structure looks more elevated.
3. Upgrade Your Hemline Finish
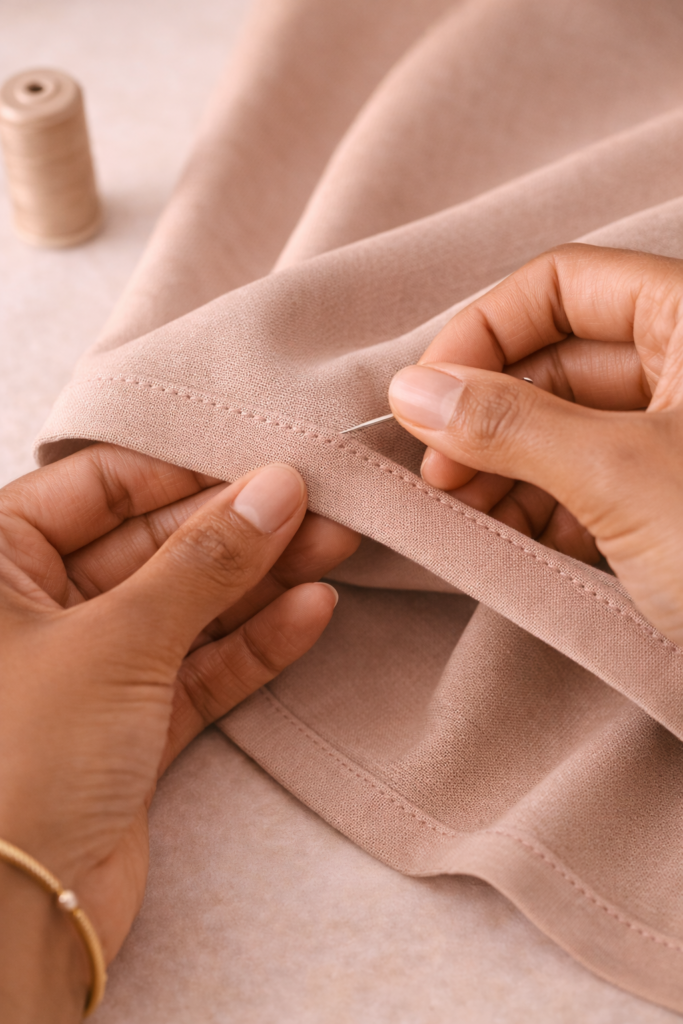
One of the biggest giveaways of a beginner garment is the hem.
High-end hem techniques:
- Double-fold hem for clean edges
- Blind hem for invisible finish
- Add a structured border (like a contrast band or trim)
Why it matters:
A crisp hemline creates a polished, professional look.
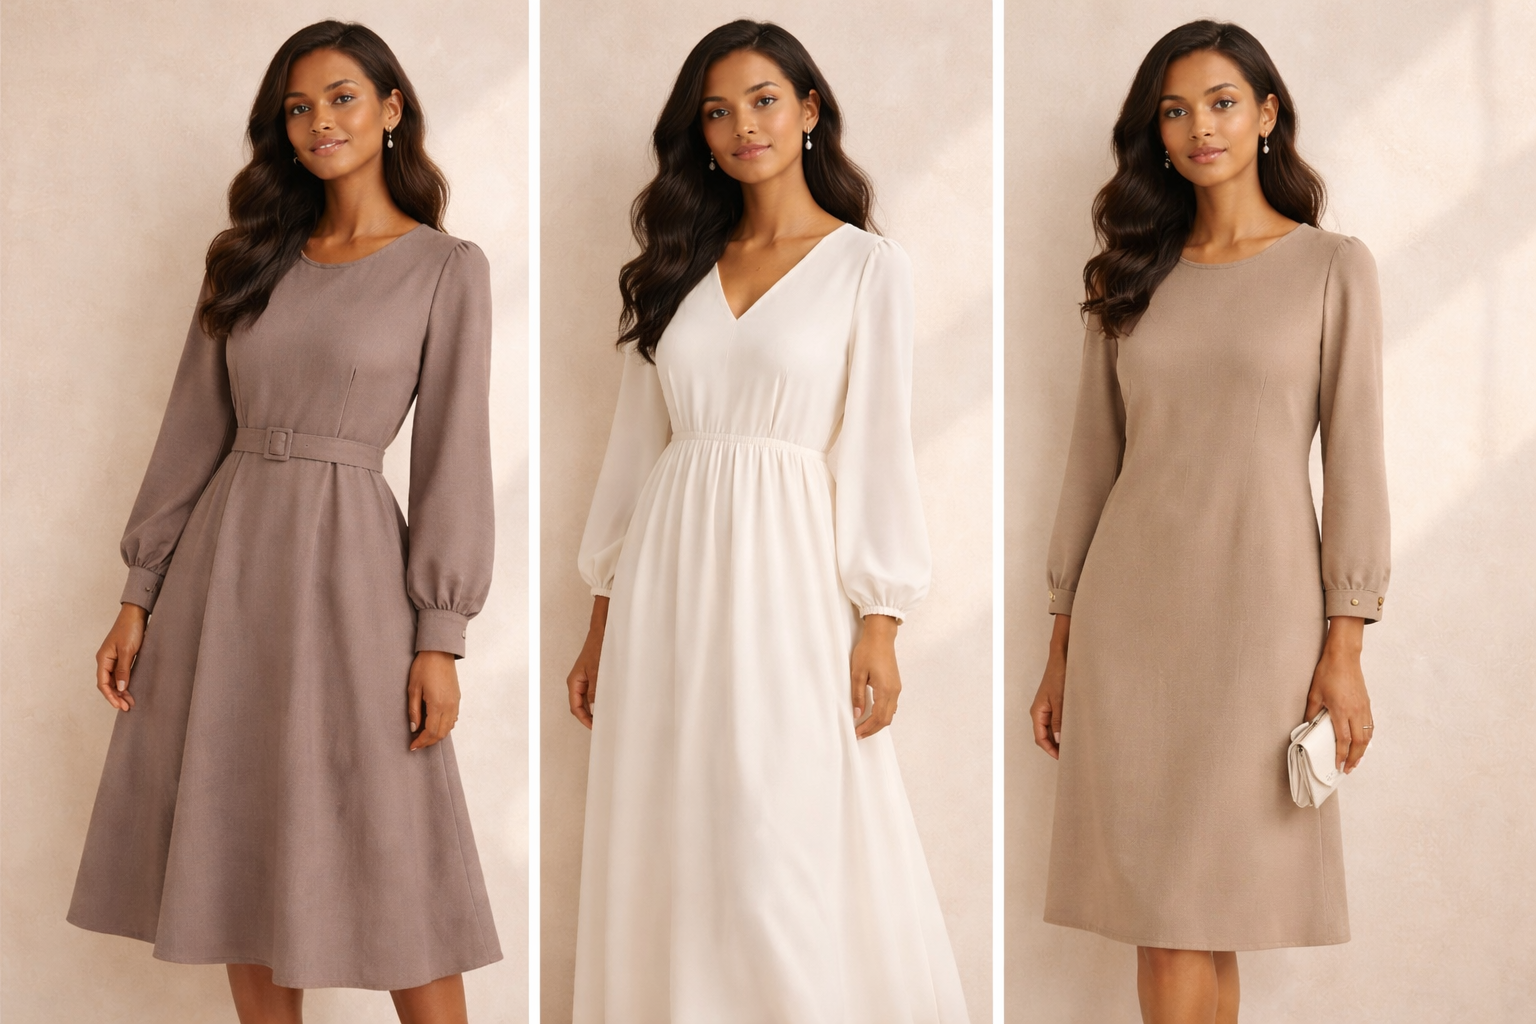
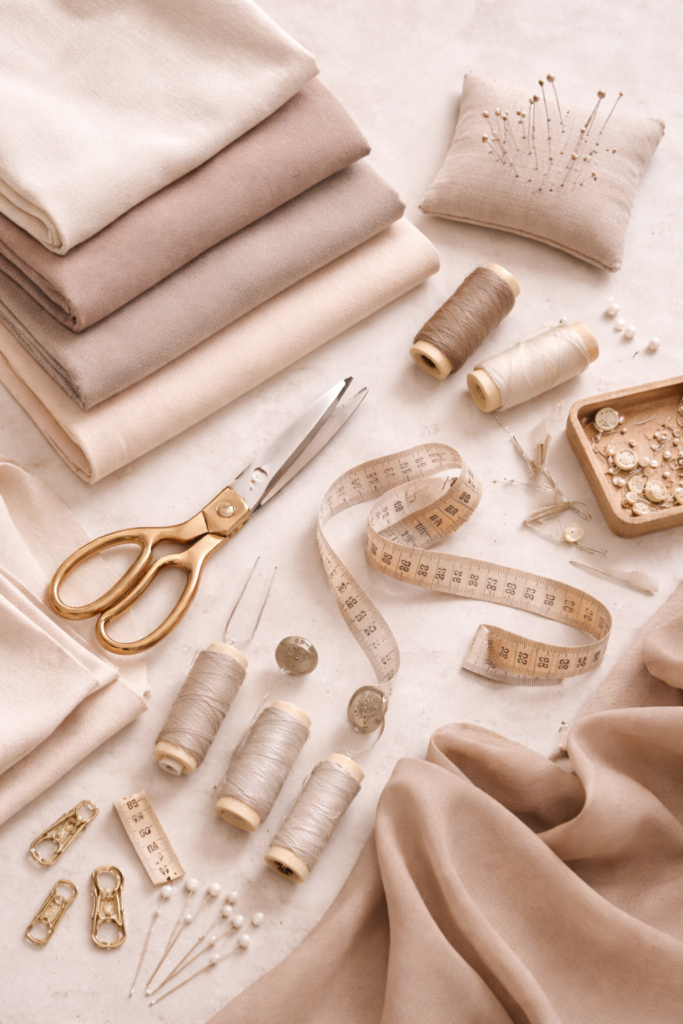
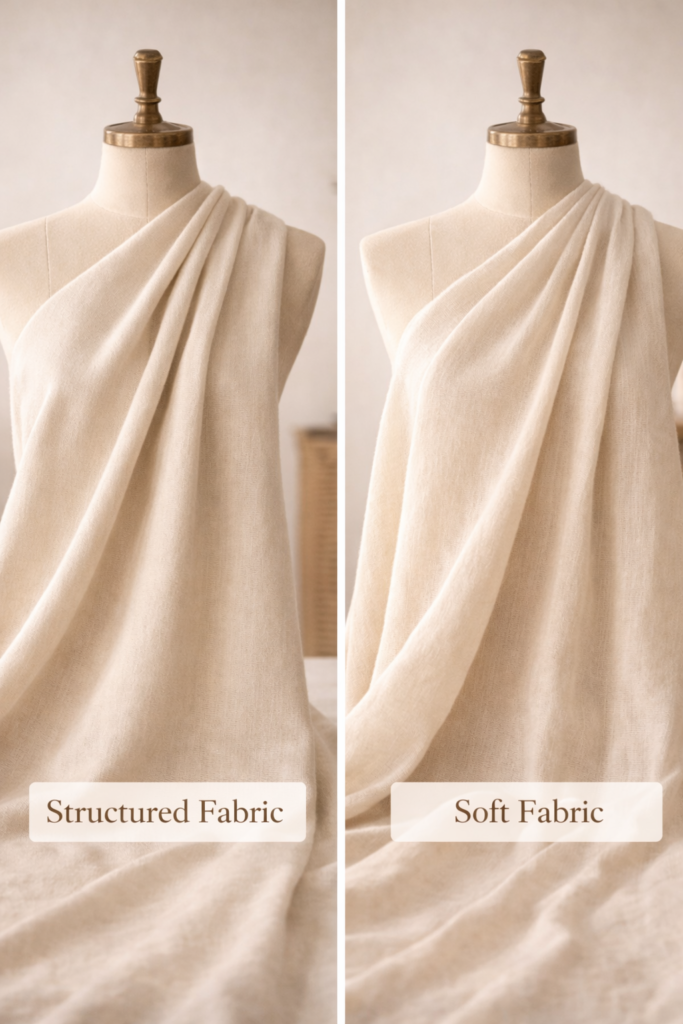
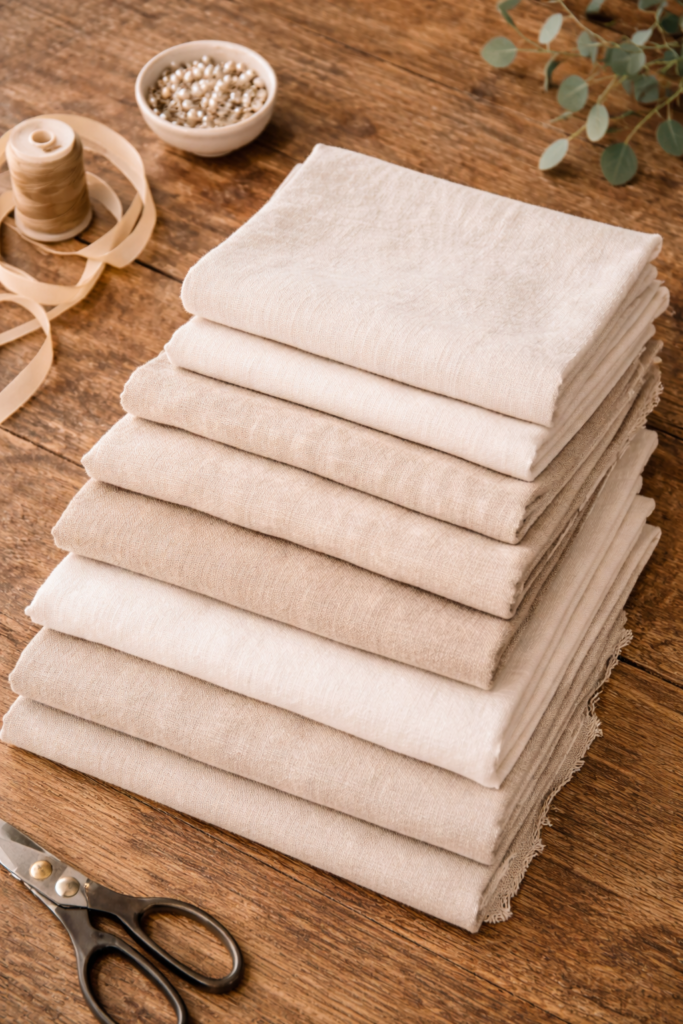
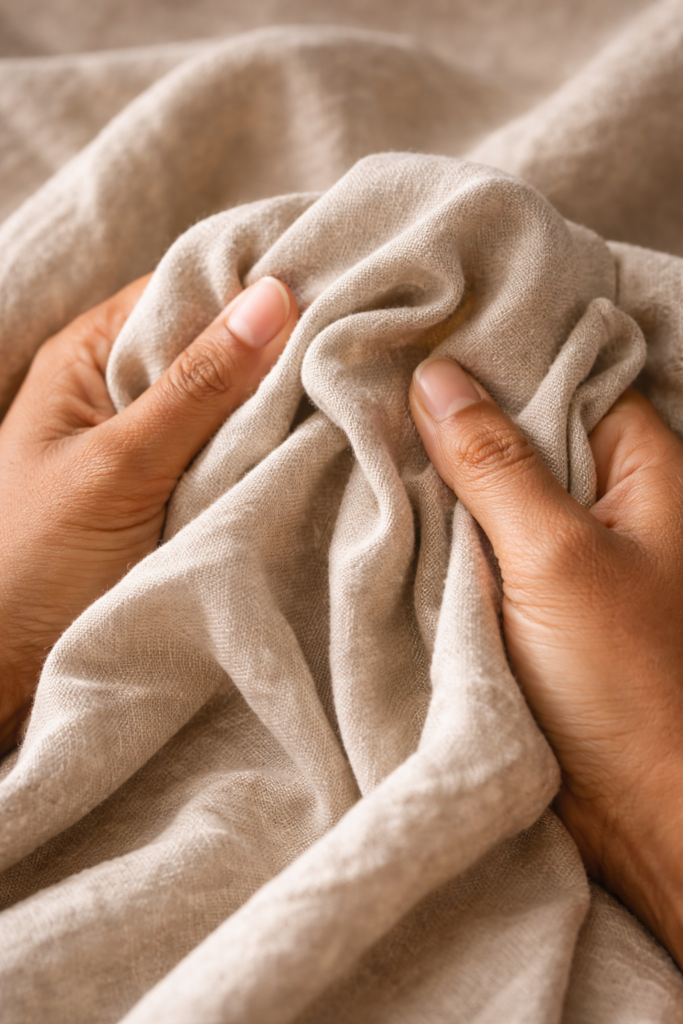
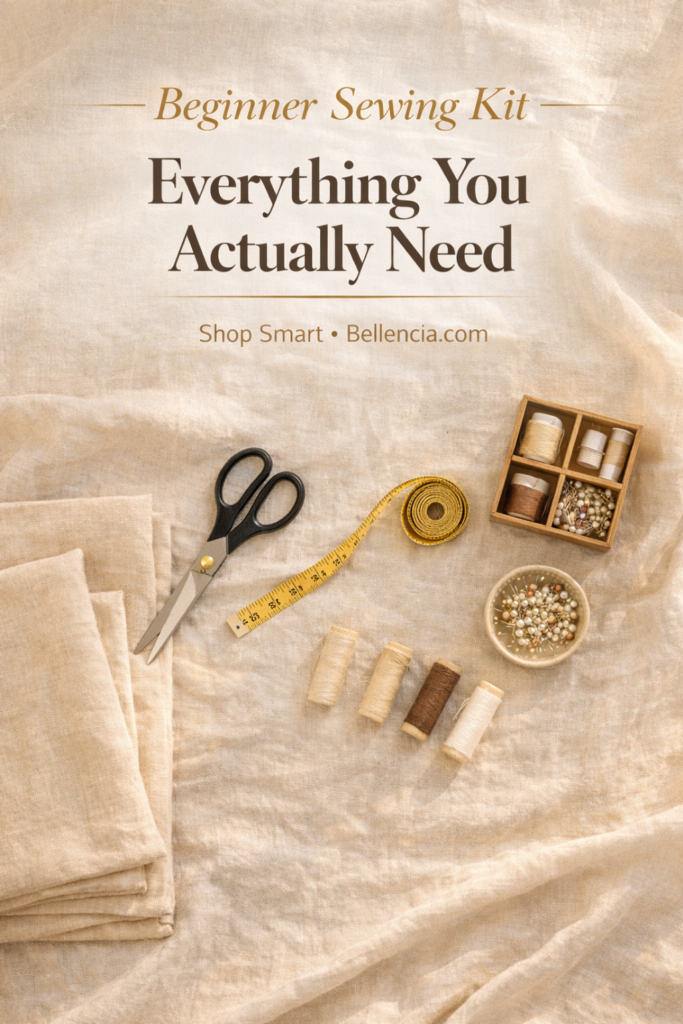
4. Choose the Right Fabric (This Changes Everything)
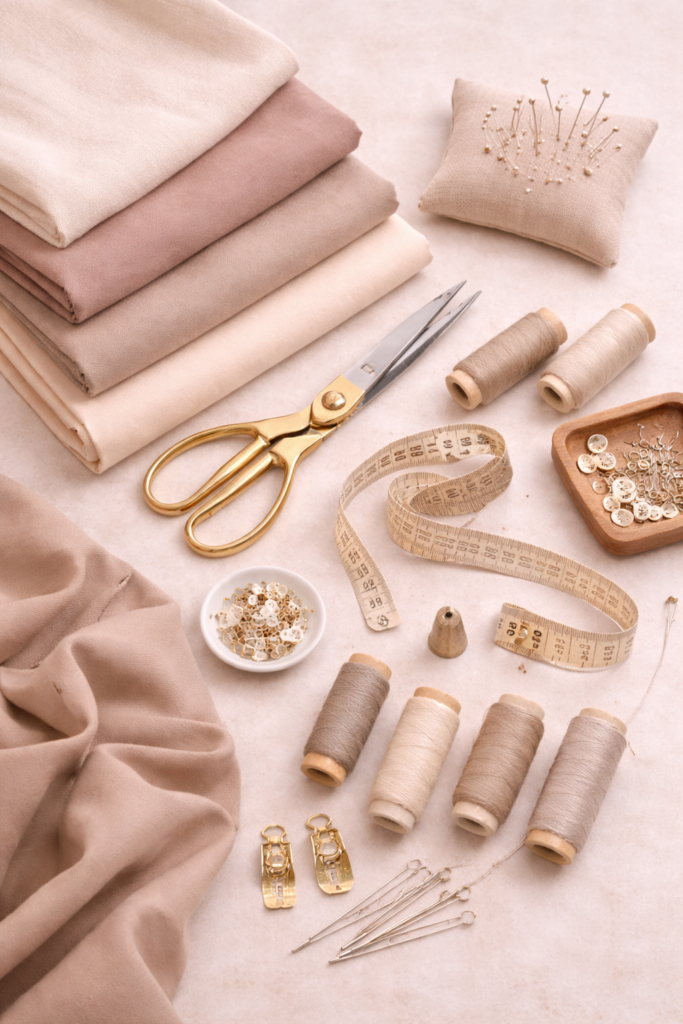
Fabric can make or break your final result.
Best beginner-friendly options:
- Cotton twill (structured but workable)
- Linen blends (natural and elevated)
- Crepe (soft but polished)
Avoid:
- Thin, clingy fabrics
- Overly shiny materials
Key insight:
Structure = expensive look.
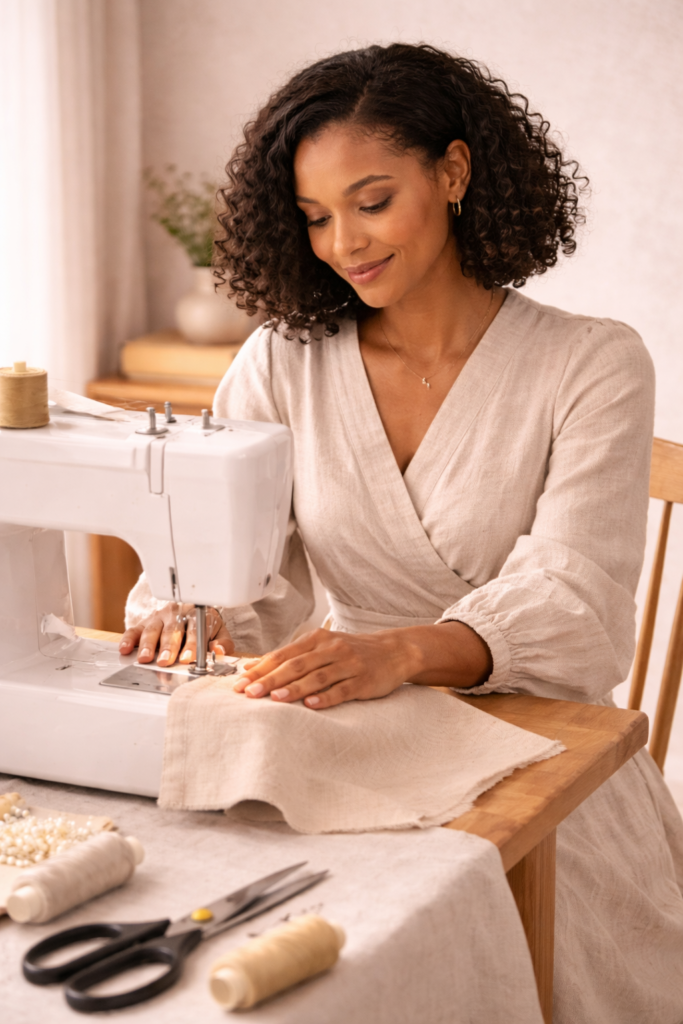
5. Press Every Step (Not Just at the End)
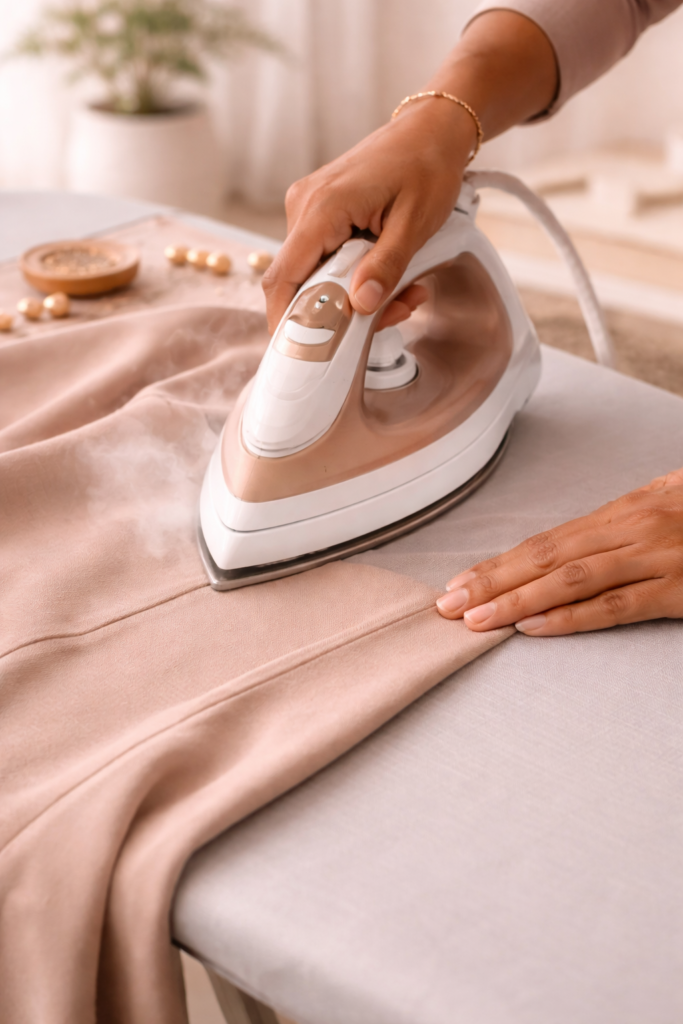
This is the most overlooked step — and the most powerful.
Pressing checklist:
- Press seams after sewing
- Press hems before stitching
- Press the final garment completely
Result:
Sharp, clean lines that mimic store-bought quality.
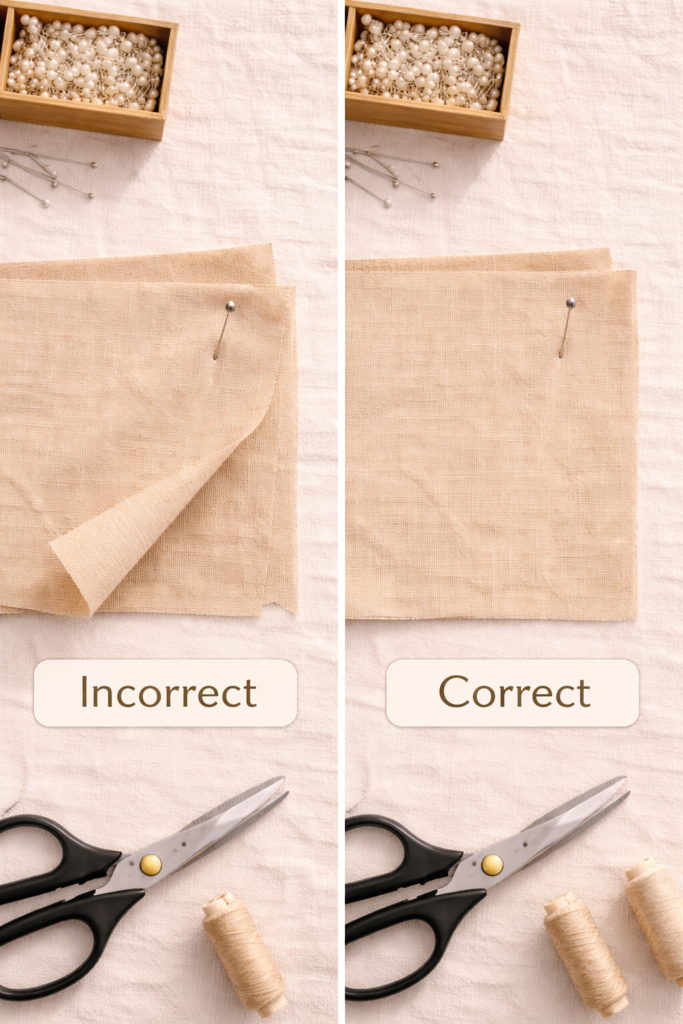
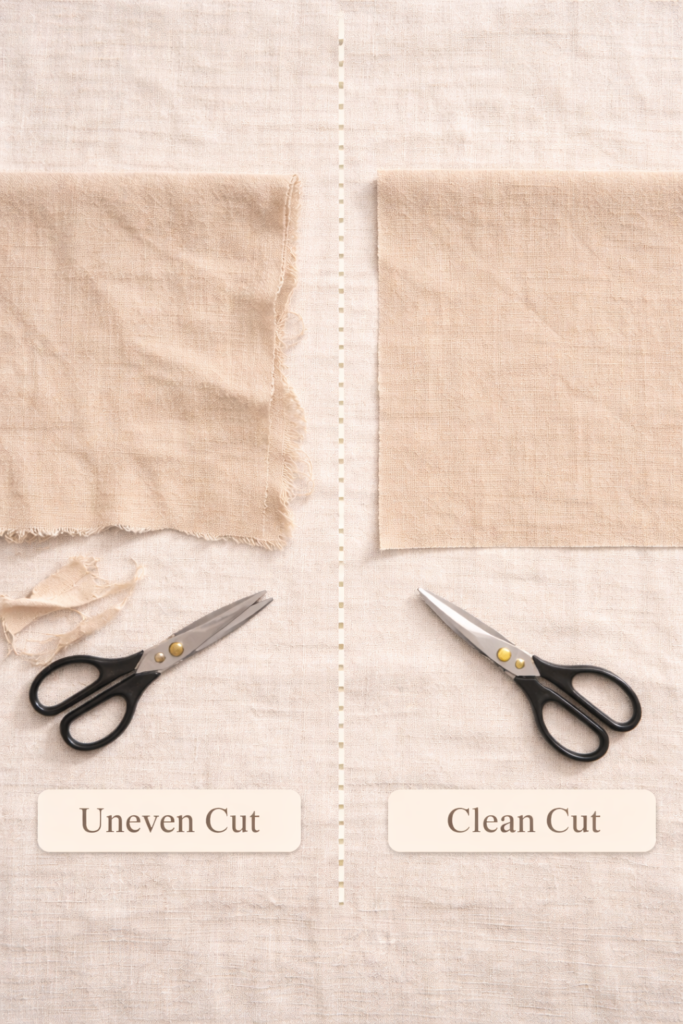
6. Clean Up Your Seams
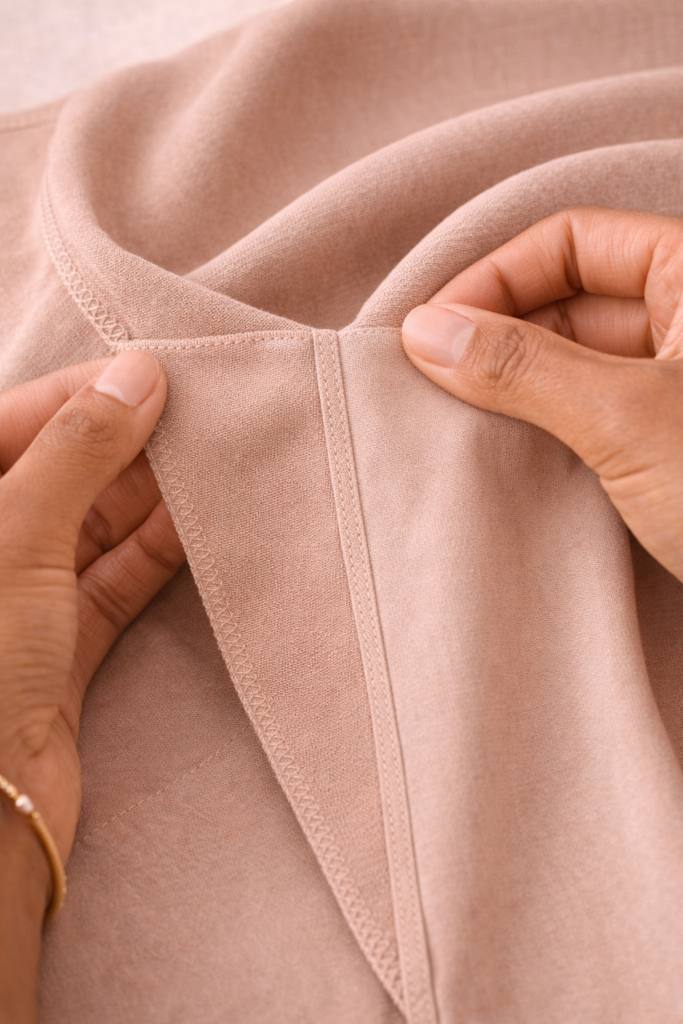
Messy seams instantly lower the quality of your dress.
Beginner seam upgrades:
- Zigzag edges to prevent fraying
- Use pinking shears
- Try French seams for lightweight fabrics
Why it matters:
Even if no one sees the inside, it affects how the garment lays.
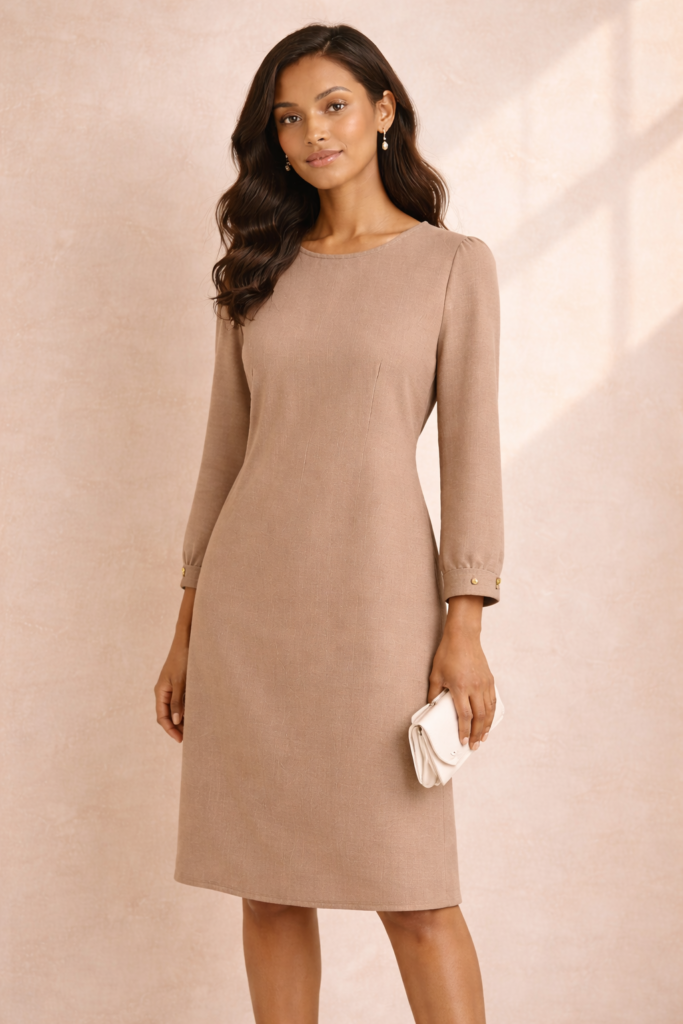
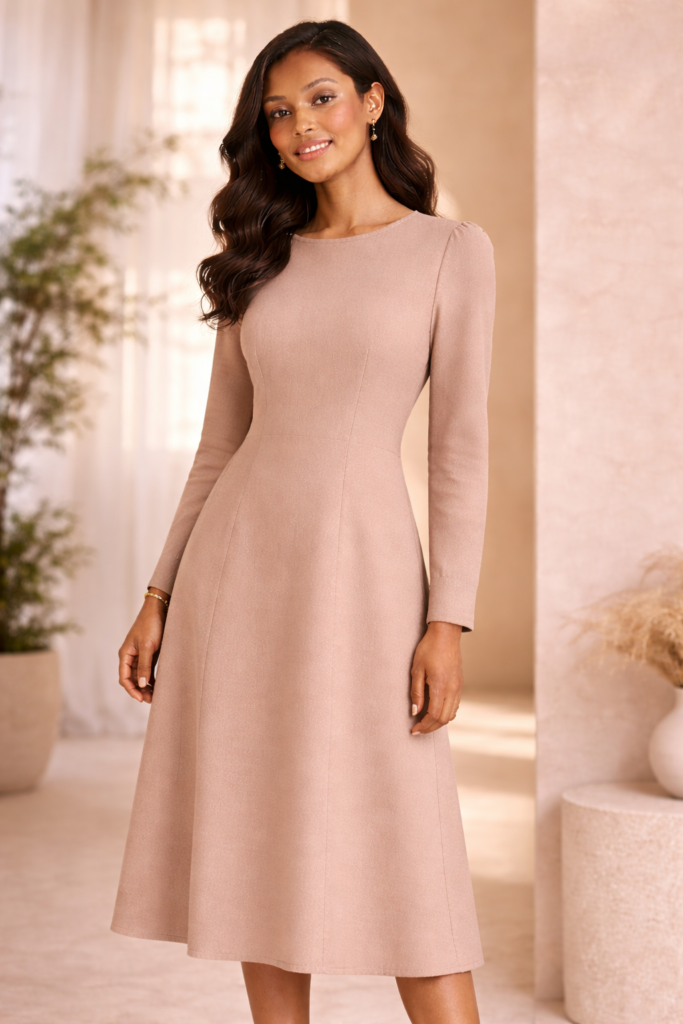
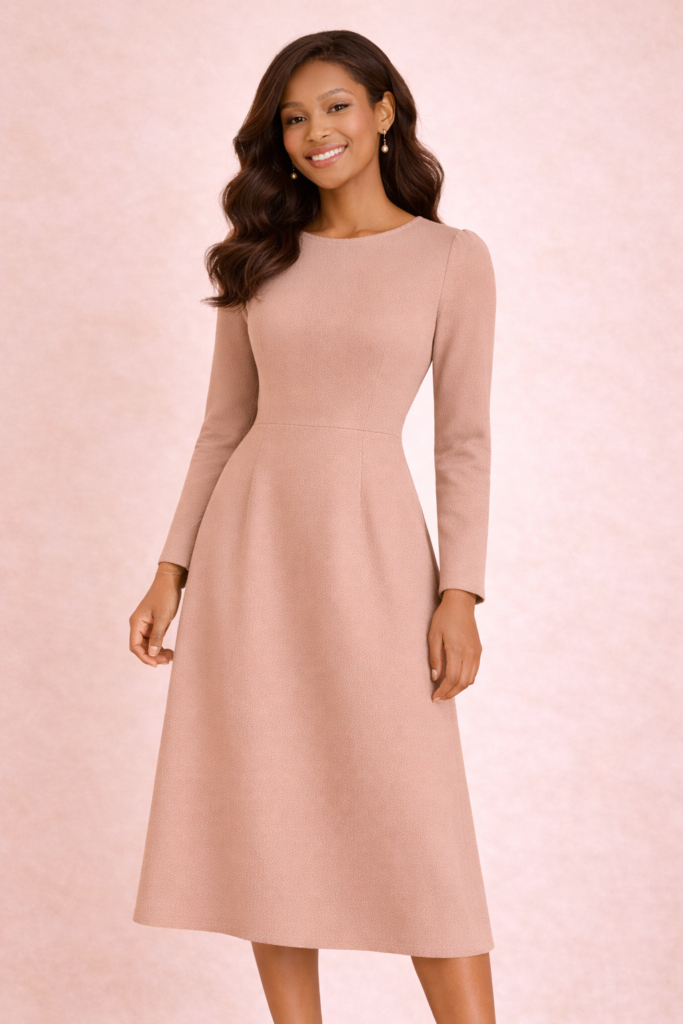
7. Keep the Design Simple
Overdesigning is one of the fastest ways to lose that elevated look.
Stick to:
- Clean silhouettes
- Minimal seams
- Neutral color palettes
Remember:
Simple + well executed = expensive.
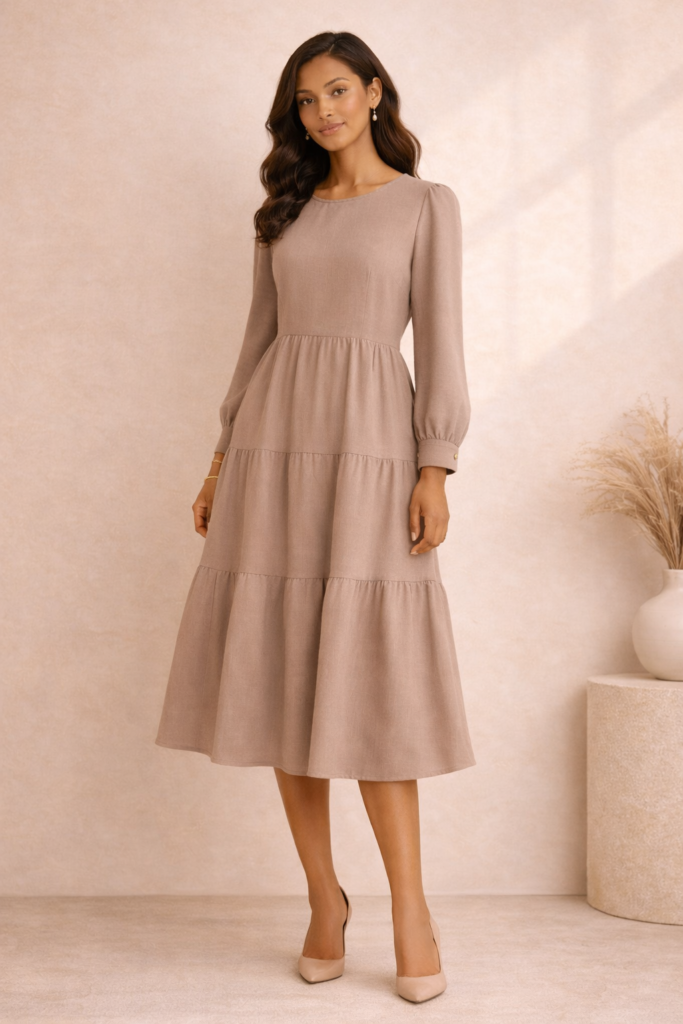
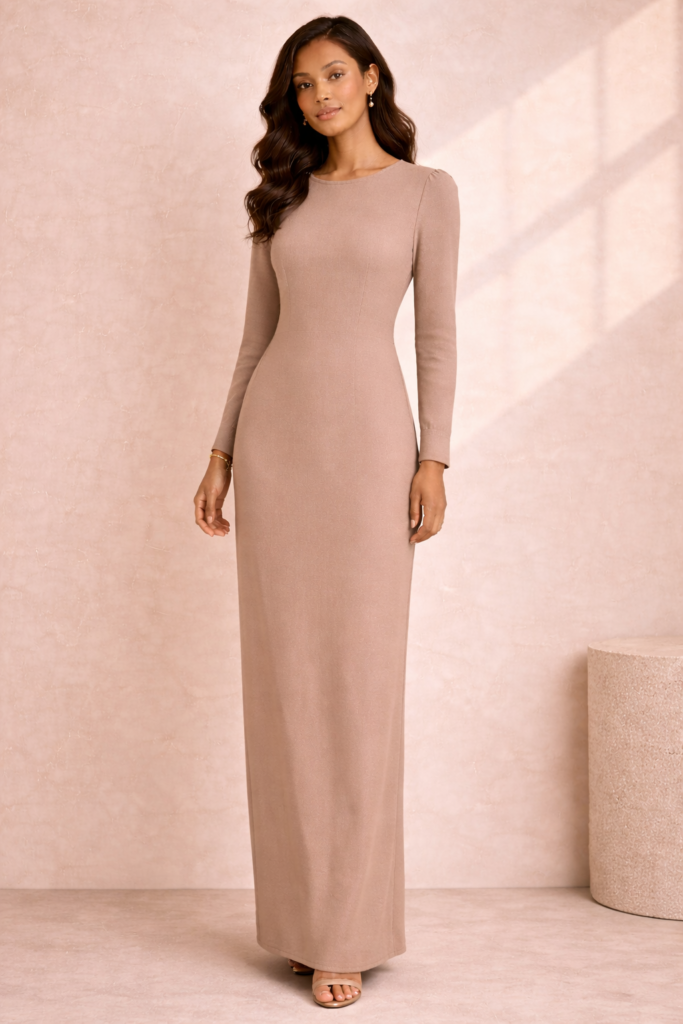
8. Pay Attention to Proportions
Balance is everything in modest fashion.
Key areas to watch:
- Sleeve length vs dress length
- Waist placement
- Skirt volume
Goal:
Create harmony in the overall silhouette.
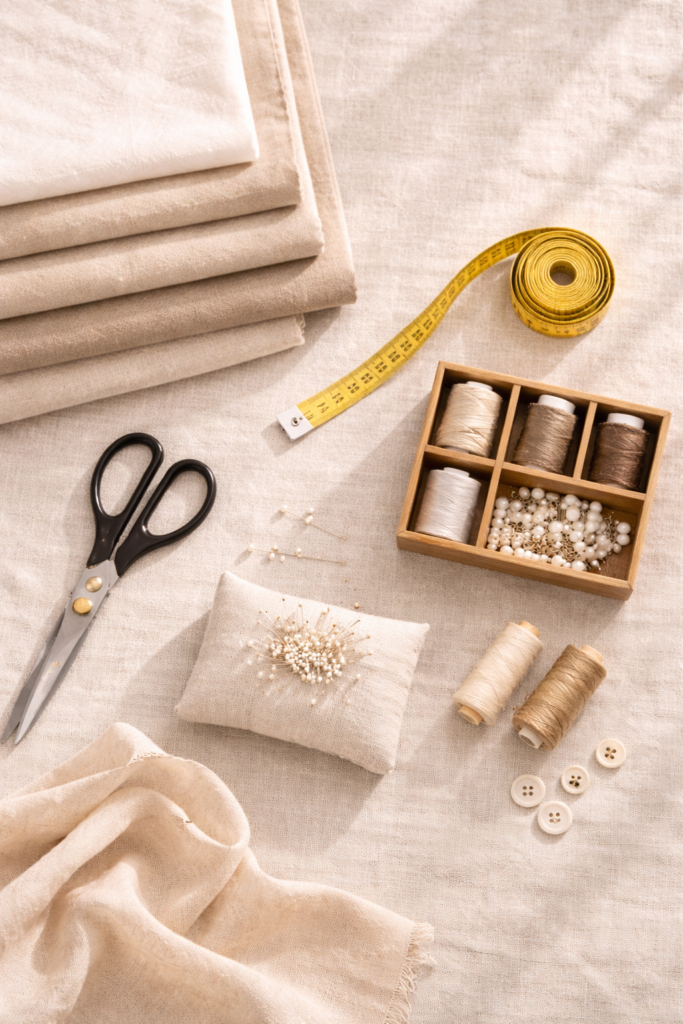
9. Add Small, Intentional Details
Details should enhance — not overwhelm.
Elevated touches:
- Subtle trim or binding
- Matching thread color
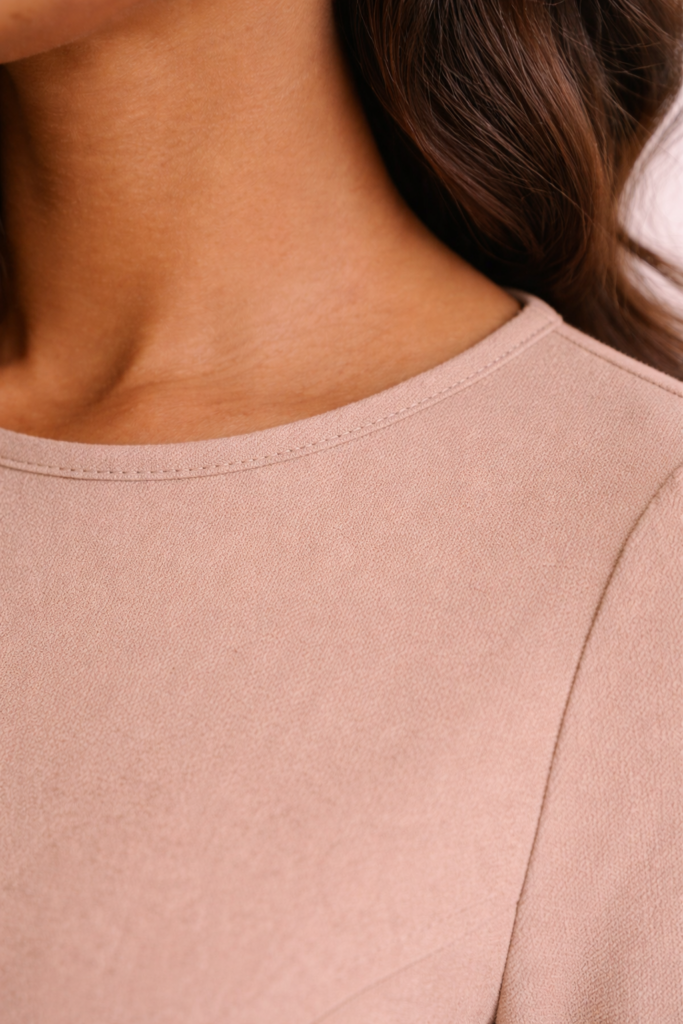
- Clean neckline finishes
Avoid:
Too many decorative elements competing for attention.
10. Do a Final Quality Check
Before calling your dress finished, take a few minutes to review:
- Are the seams straight?
- Is the hem even?
- Does it fit smoothly?
- Is it fully pressed?
These small checks create a big difference in the final result.
Common Mistakes That Ruin the Tailored Look

Avoid these if you want your dress to look polished:
- Skipping pressing
- Using low-quality fabric
- Uneven stitching
- Poor fit adjustments
- Rushing the process
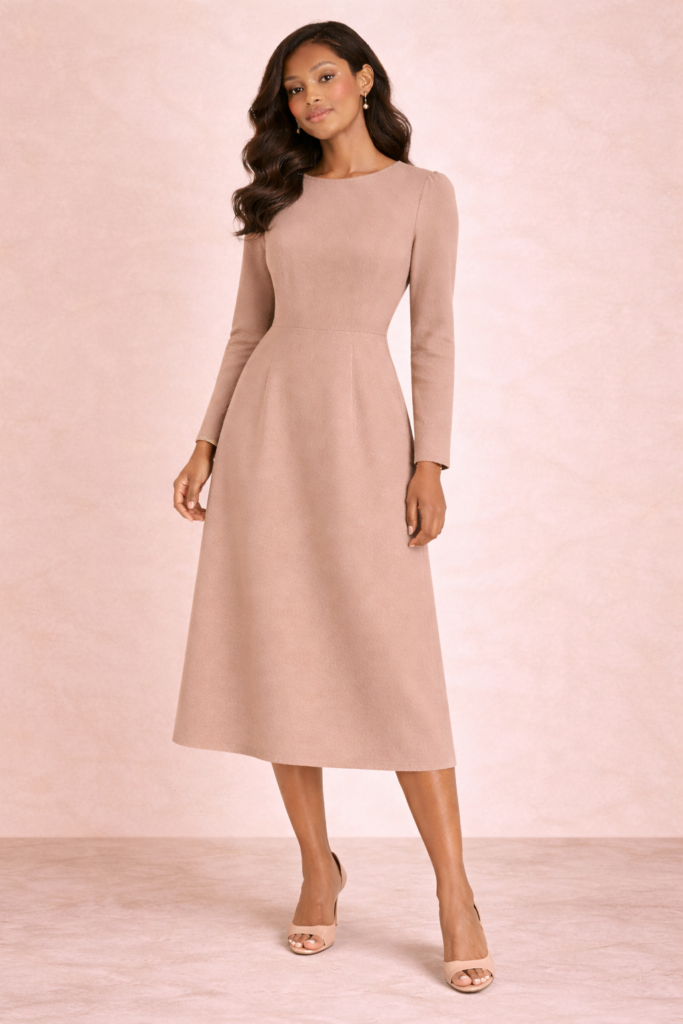
Final Takeaway
You don’t need advanced techniques to make a dress look tailored — you need intentional execution.
Focus on fit, fabric, structure, and finishing. When those are done right, even the simplest modest dress can look refined, polished, and high-end.
Next Step
Now that you know how to elevate your dress, the next move is choosing the right fabric to support that look — because even the best technique can’t fix the wrong material.